Step by Step LO #1

You will need
....one piece of cardstock
....4 co-ordinating pieces of P/P (I have use scraps left over from another project)
....One piece of ric rac 9 and a half inches (24cm) long
....some buttons
....ink
....pen
....a saucer to trace around
.....and some Alphas for the title
....double sided tape and glue
....scissors

step one
trace around the saucer and cut out
ink around the edge

step two
cut one piece of P/P 4 and three quarter inches x 9 and a quarter inches (12cm x 23cm)
cut another piece of P/P 7 and a quarter inches x 2 and a half inches (18cm x 6cm)
tear along one long edge
cut the last piece of P/P 5 and a half inches x three quarters of an inch (14cm x 2cm)
ink all edges

step three
cut 1 circle approx 1 and a quarter inches (3cm) in diameter
cut 2 circles approx 1 and a half inches (4cm) in diameter
cut 1 circle approx 2 inches (5cm) in diameter
cut 2 thin strips approx 4 inches (10cm) and 2 and a half inches (6 and a half cm)
cut 2 small leaves (one a little larger than the other)
ink around all the edges
 step four
scrunch up the 4 circles
 and flatten them out
step five
place the P/P on the cardstock
to look like this

step six
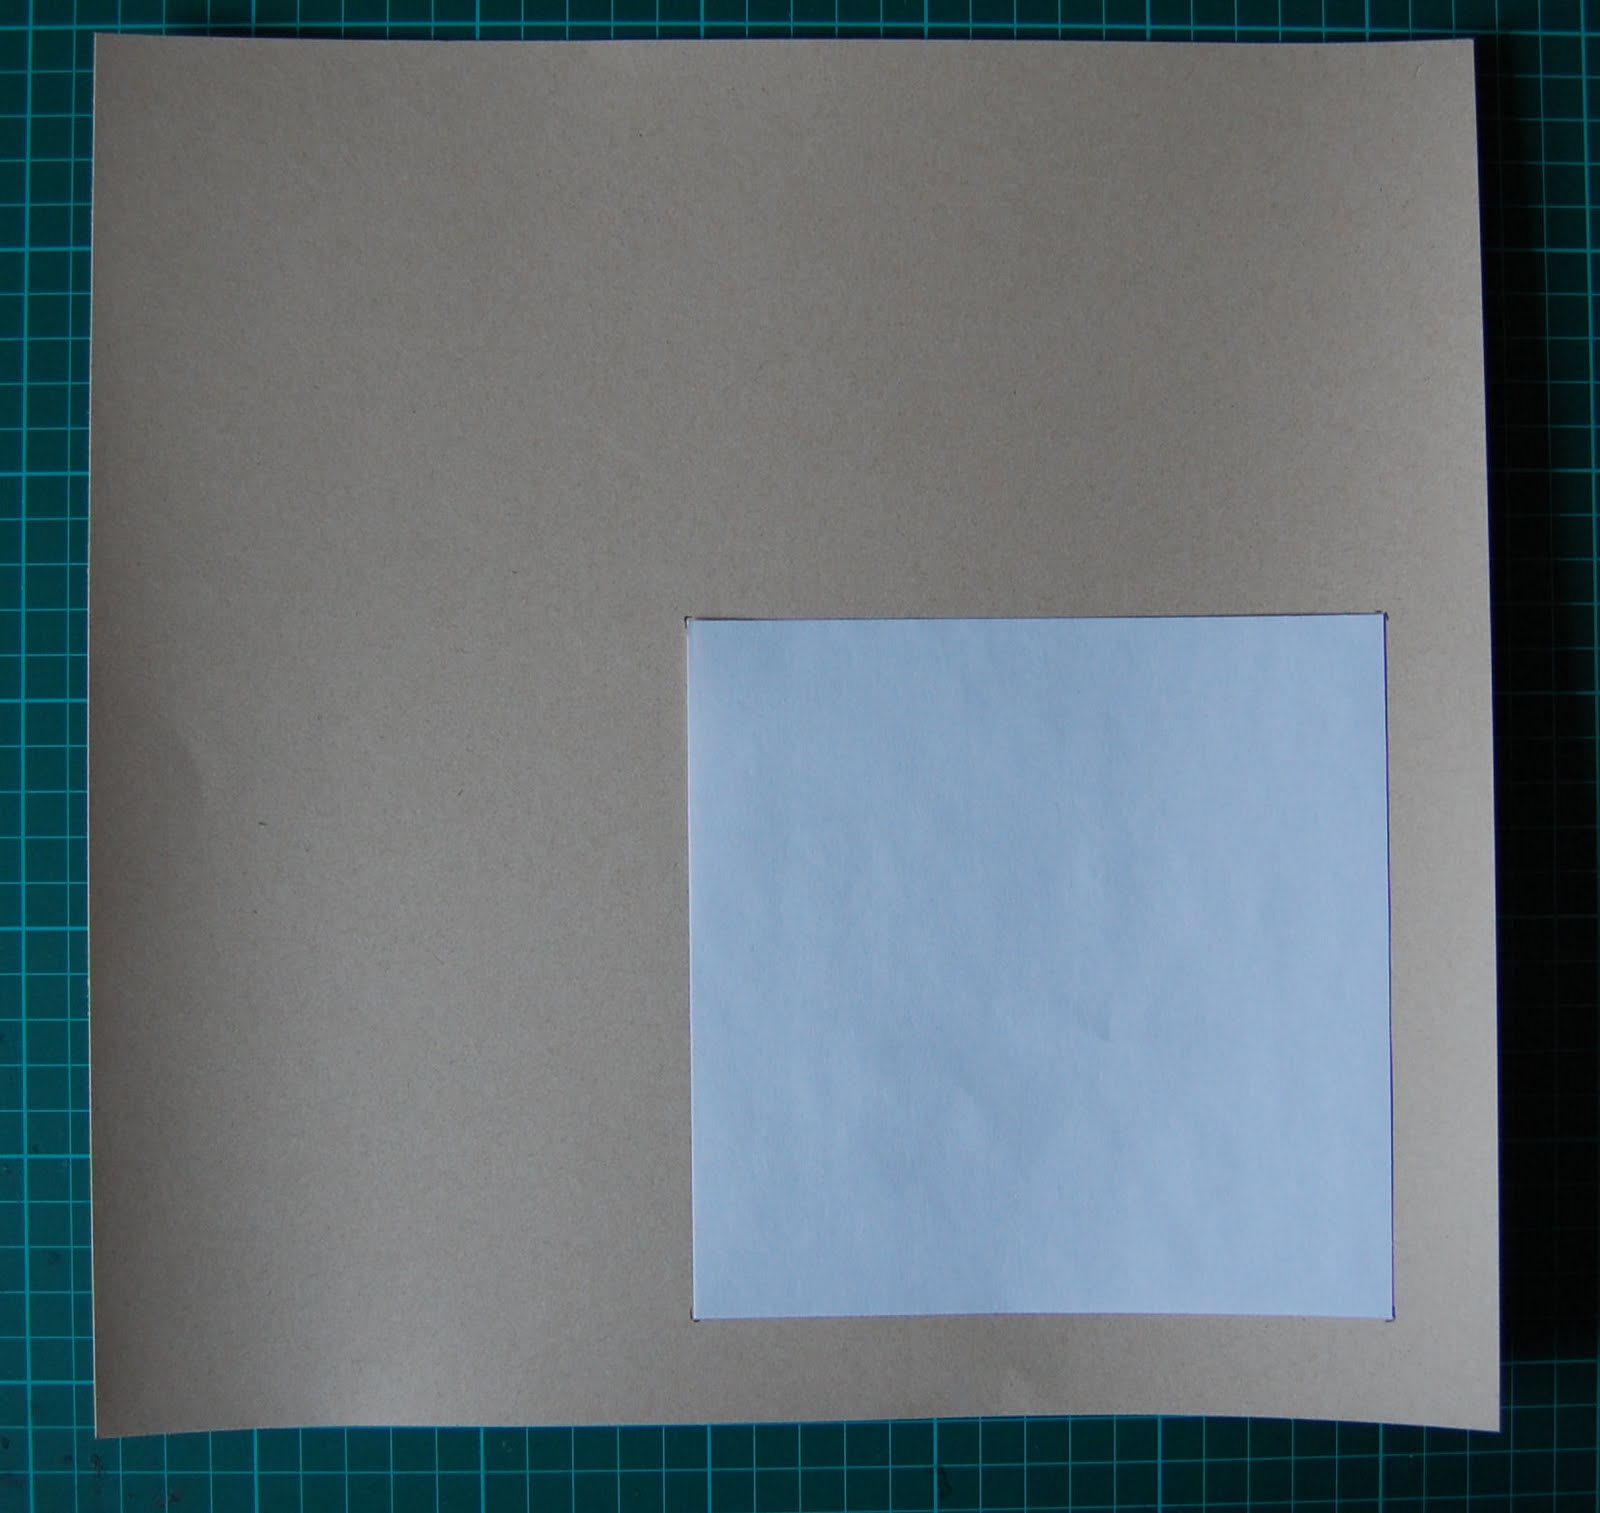
place your photo on the P/P
 step seven
place the ric rac approx half an inch (1cm) below the photo

step eight
place the thin strips scrunched up circles and leaves on the right edge of your photo to create the flowers add buttons to create flower centres
place the a button on the left hand side of the ric rac

add your title and draw little lines around the edge of the cardstock to create a stitched look
you can add some journaling if you wish
You have now completed your LO
A Step by Step LO #2
you can add some journaling if you wish
You have now completed your LO
A Step by Step LO #2
 This is a great Lo for using up scraps
You will need
1 piece of cardstock
3 pieces of P/P
Ink
Pen
foam dots or foam tape
( used for the flower)
ruler and pencil
scissors
and double sided tape
Flower punches to create the flower
if you don't have punches to create the flower you can make the lolly pop flower
Both look great on this LO
Step 1
Step 1
 cut a piece of P/P
6 and a half x 20 cm
Turn to wrong side
rule 2 lines
one 3 cm from the bottom and the other 1 and a half cm from the bottom
these 2 lines are the guide for drawing the scallops
 draw scallops making a few a little longer than the others
using the 2 lines as your guide
 cut along the scallops
Step 2
 cut 2 more pieces of P/P
one 13 cm x 17 cm
and the other 1 and a half cm x 24 and a half cm
ink around all the edges of the P/P
place on your card stock to look like this
and stick down
Step 3
 stick down your photo
To create the flower punch out 3 flowers, curl up the edges then layer them stick a button in the centre
your flower is now completed
Step 4
 Draw around the scalloped edged P/P
and the piece behind the photo on the top and left hand side
draw several fine lines around the edge of the card stock over lapping some
draw a couple of little lines across the the lines around the cardstock on 3 sides
Step 5

stick down the flower you have created and add your title
(I have used left over alphas in different colours and fonts)
you can add some journaling if you wish
Your LO is now completed
(I have used left over alphas in different colours and fonts)
you can add some journaling if you wish
Your LO is now completed
A Step by Step LO #3
 you will need
Cardstock
2 pieces P/P
one that has some sort of floralish design suitable for cutting out
and one plainish piece of P/P
2 saucepan lids one a bit smaller than the other
you can use plates or bowls as long as one is a bit smaller than th other
some flowers
to make the flower that Kathie did a Tutorial on this week
foam tape or dots
Ink
a good pair of cutting scissors
alphas for Title
 #step 1
on the back side of the plainer P/P
trace around the biggest saucepan lid
 then place the smaller saucepan lid in the centre of the circle you have already traced
and trace around it
 #step 2
cut your circle out
ink edges
 #step 3
cut a piece of your floralish P/P 8 and a half cm x 26cm
tear along one long edge and one short edge
ink edges
 #step 4
place the 2 pieces of P/P on your cardstock to look like this
stick down
 stick your photo down
#step 5
Make a flower
cut out some flowers from your floralish P/P
then arrange on your LO
to look something like this or an arrangement you are happy with
then arrange on your LO
to look something like this or an arrangement you are happy with
 #step 6
when you are happy with how you have it arranged
stick down using the foam tape on some of the flowers
 add your title and some journaling if you wish
All done
If you are doing a girly LO you can use Kindy Glitz
to highlight the flowers to add a bit of sparkle
Because I did a Male LO I didn't add any bling and glitz
Negative Space step by step LO #4

You will need
A piece of paper 15cm square
( this is a template)
1 piece of cardstock
P/P scraps
Lace
Ribbon
Embellishments
(I have used flowers leaves and a cute button)
Alpha's
 # Step 1
Place your template on the cardstock
lightly trace around the template
This is the space we will be working in
 # Step 2
cut 2 pieces of P/P
1 11cm x 7cm tear along the long edge
and the other 8cm x 13 cm tear along the long edge
cut a piece of lace 15cm
 # Step 3
Stick down the lace
 # Step 4
Stick your P/P down
to look like this
 #Step 5
trim your photo
and stick down
rub out any visible pencil lines
 # Step 6
Add your embellishments and Title
and you are done
Negative space LO's are really quick and easy to do
and a great way to use up scraps
all you have to remember is to work in that 15cm square
Have fun creating this one and trying some of your own
Step by Step LO #5
 for this LO I have use P/P left over from other projects
You will need
1 piece of cardstock
Scraps of P/P
Lace
Pearls or Rhinestones
Alphas
Glimmer Mist or Kindi Glitz
and some flowers
(I have used flowers from Kathies last flower tutorial)
you can find it HERE
Ink
tape
glue
#Step 1
Spray your flowers with Glimmer Mist or add a little sparkle to them with Kindi Glitz
set aside to dry
 #Step2
cut your P/P
The brown piece is 13cm x 17cm
Distress edges
Small stripe 2cm x 23cm
Punch one long edge
(if you don't have an edge punch tear this edge)
Large stripe 6cm x 24cm
tear along the bottom edge
cut the last 2 pieces 12cm x 16cm and 9cm x 5cm
distress the to along one 12cm edge and the 16cm left hand side edge
one the smaller piece distress along the 9cm right hand side and the top edge
Ink all edges
 #Step 3
(sorry that this photo is on it's side but that's how blogger insists on loading it)
stick down the piece of P/P that you have punched an edge on then stick a 28cm piece of lace over top of it with a couple dabs of glue
 #Step 4
stick down the 12cm x 16cm and the 13cm x 17cm P/P's
so that they look like this
 #Step 5
stick the rest of the P/P's to look like this
 #Step 6
add you photo
 #Step 7
add some flowers pearls and Title
You have completed a simple LO
You can add more embellishments to you LO
and it will look something like this
 I have added a strips of P/P down the left hand side top and right hand side
I punched a border along top and left hand side pieces of P/P
I then embossed a chipboard swirl with Tim Holtz distressing powder and sprayed it with Glimmer Mist and added some pearls
I added an extra flower bottom right hand side and a couple on the chipboard swirl and some leaves to the flower sprays which I inked and glimmer misted
LO all done
I just couldn't resist I had to add a bit more

I've added another flower to the spray on the left hand side and a small embossed swirl on the bottom of the spray
I couldn't resist adding a bird cage and little birdie up the top on the left
The LO is now completed
Happy Scrapping
I couldn't resist adding a bird cage and little birdie up the top on the left
The LO is now completed
Happy Scrapping
2 comments:
Some fab layouts here. Love how you make do with pots, etc (same as me)& shown that you don't need fancy tools to make a awesome layout.
подробней просьба [url=http://profvesti.ru/o-stroitelstve-svoimi-rukami/]капитальный ремонт дома[/url]
Post a Comment